Thursday, July 5, 2012

Berry Box Calendar Journal

Okay, I had no idea what to call this, so if you have a better name for such a cute DIY project, I want to hear it!


I saw something like this in Pinterest a long time ago, and wanted to do it so badly! The only problem was my inability to find clean berry boxes. And maybe even my great ability to procrastinate. But this is all beside the point, so let's get to this fun project!

It was a short one, but it will last for years to come! My best friend and roommate has a big 10-year journal that she writes in once a day (if she remembers...) so however many years from now, she can see where she was a year ago on that day. What a cool idea! I've been wanting to get one for a while, but they're about $15 each, and for some reason I can't bring myself to buy one. Also, I'm not very good at keeping journals, probably because I just forget about it on a bookshelf or something. So, here we are! I wanted to have something cute and easy to write just a little tidbit of my day, and this works perfectly!

First, you're going to need some berry boxes. I bought berries in one of these at Pike Place Market, but the boxes were all stained with blueberry juice and I wanted a clean one. So, I jumped on my etsy account and found some at PistachioPaperie for $2.75!


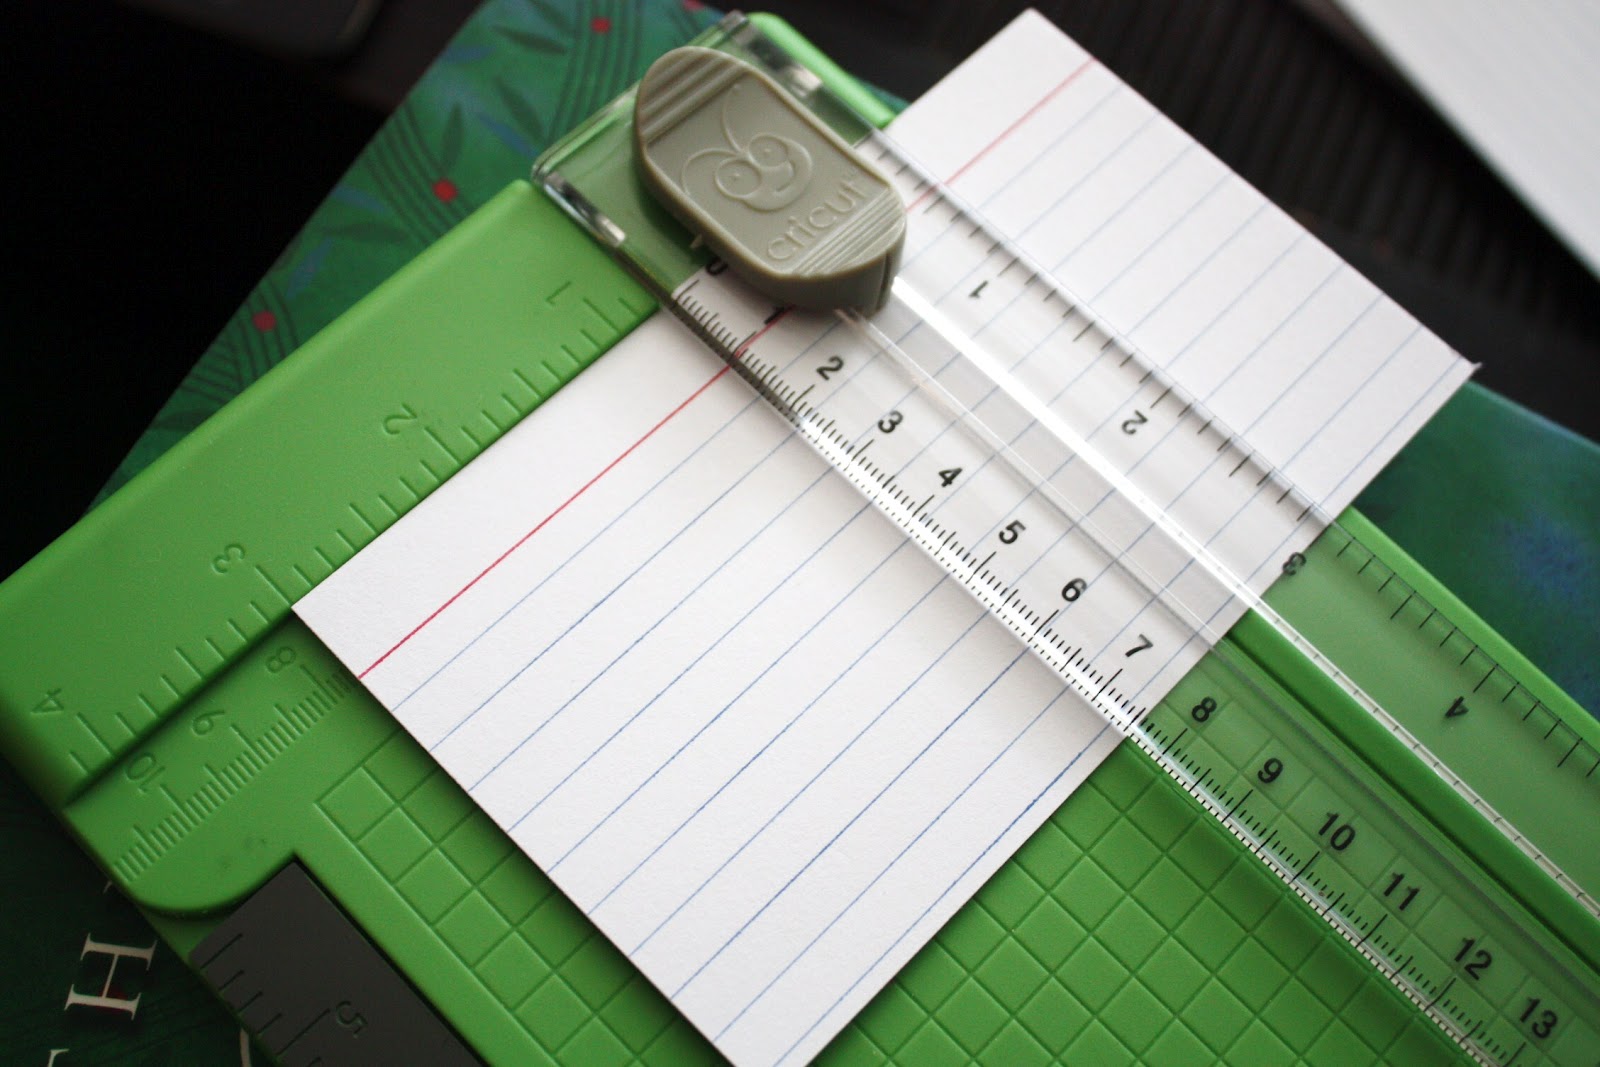
You also need some lined note cards. The ones I had on hand were too small to be cut in half and have both halves used, so I had to run out and get some more. A 4x6 card works best!


Cut each card so it is 3" wide. If you find a larger berry basket, perfect! You'll have more room to write what happened each day!


365 cards fit perfectly in these baskets. :)


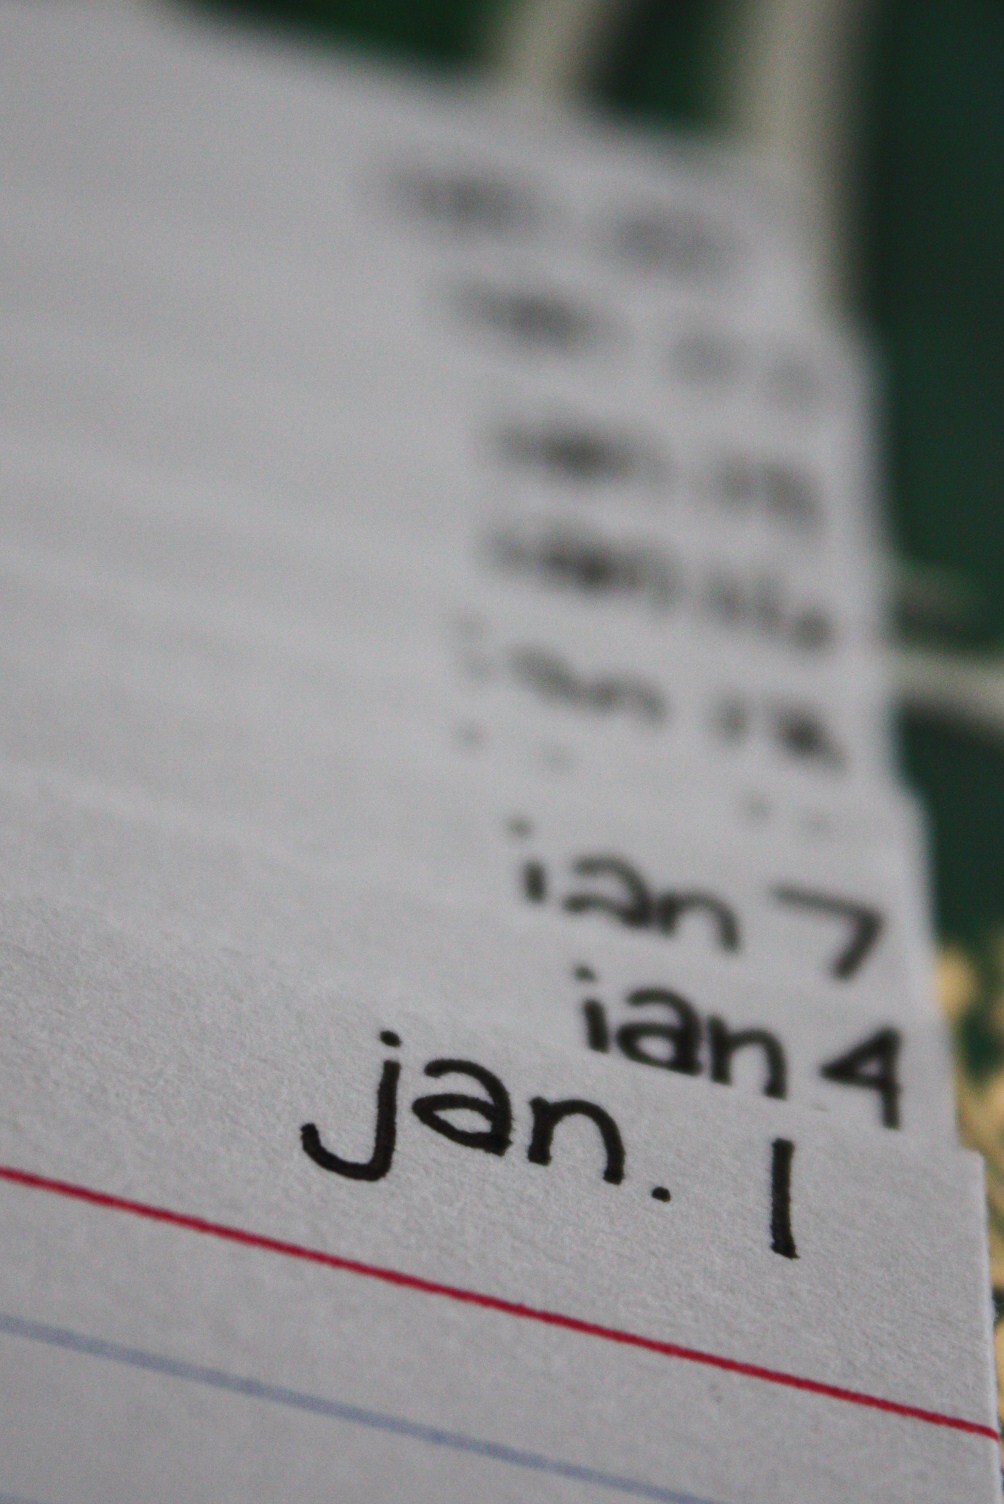
This is the longest part, unless you have a date stamp, which I do not. I probably could have invested in one pretty easily, but I've been spendin' money like it don't mean nothin' on crafts lately, so I went with the hand-written technique. It took forever, but if you put on an entertaining TV show such as One Tree Hill, it'll fly by. I had just enough cards to do all the days of the year, plus 3 that I messed up on. Lucky!


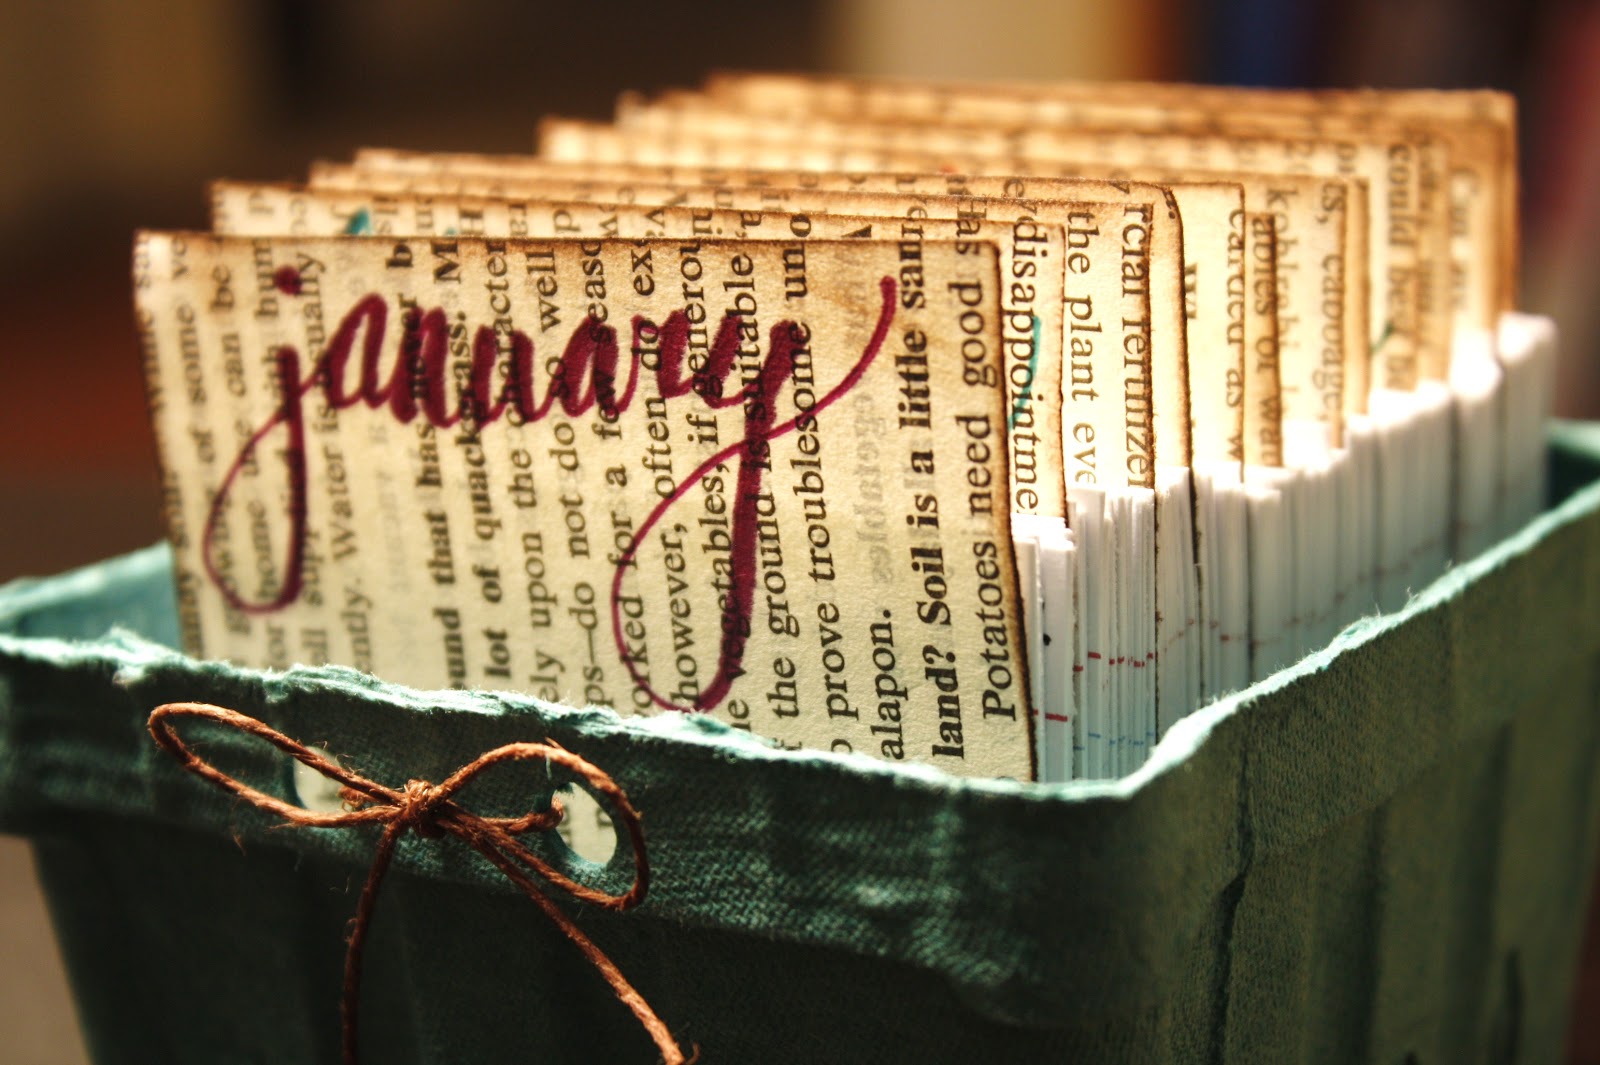
For the month separators, you can use whatever you'd like. I went with pages from an old book a friend gave me as a gift. Don't worry though, she didn't intend for me to read it. She hollowed it out and snuck a necklace inside! Cute, right? It was a gardening book, and I thought that tied in with the berry basket very well. Cut the paper to 3"x3 3/4", so you'll be able to see it poking out of the top. Write the month at the top of the paper in whatever colors and font you want!


Next, for a little antiqued look, I took this cheap $1 ink pad from Michael's and swiped it along the sides of the paper. 


I love how this turned out! Old stuff is always better.


I decided to write all my dates in different colors, just to add a bit of fun and diversity to it. 


Slip them in between each month and there you have it! You can use this for years to come and remember small or significant events! Oh yes, I also used a hole punch on the front of the box and tied a little bow with some twine to give it a little more femininity. 


The first year may not be very exciting, but just wait and I bet it will be so fun to look back and see what you've done in the past that you may have otherwise forgotten!


Friday, June 29, 2012

Picture Frame Key Holder

Okay, so if anyone else is like me, you lose your keys anytime they're not in the ignition. My roommates and I had a gnome key holder (our house is practically gnome-central), but it fell off the wall about every other day, and didn't go well with the rest of our grown-up house. So, I decided to make one instead of spending $20+ on some boring thing that I didn't have the satisfaction of making myself. :)


I started with three fancy frames from JoAnn's, along with some paint because I wasn't a big fan of the gold color.


On clearance for $4.97, could you believe that?! Such a steal, especially at JoAnn's. I found three of them for under $5, so I was a seriously happy camper.


I wanted to paint them a metallic silver color, so I bought this little guy. Unfortunately, it was a little too watery to be painted on the frame alone, so I decided to go with a black coat first.


Paint a happy face, and wait for your little frame to dry! :)


... Or your three frames to dry.


I painted over with a few coats of the silver paint, and I liked the way it turned out!


Take out everything inside. With mine, I had to cut off the back because it was attached. Mmm, velvet.


I bought these cup hooks at Ace Hardware for about $3. I couldn't find silver ones, but I didn't really care enough to paint them over.


Since my frames weren't wood but metal, it was quite a challenge to get these guys in there. I don't have an electric drill, so I couldn't drill first and then stick these guys in, but I heard that's the best way. For me, it just took some time and manpower.


I don't have pictures of the next step, but the cup hooks were sticking out too far in the back and it wouldn't sit flat against the wall, so I needed to figure out something to do. I decided to somehow attach it to a larger frame, and luckily they were just the right size to be nailed together. I think it dressed it up a little more, and made it look much better.


And there you have it! It was a simple project, but it's useful and looks nice! I couldn't seem to take very good photographs of it, but it's on a very plain wall sooo it doesn't look that great. But I know it'll look great soon! If you have any ideas on how to spruce this drab hallway up, they are more than welcome!

Wednesday, June 27, 2012

Oregon String Art

Okay, one thing about me, I love love LOVE living in the Pacific Northwest. I was born and raised in Oregon, and my heart will always be there. I recently moved to the greater Seattle, WA area, and don't get me wrong, it's great here, but I will always belong to Eugene. I wanted something to share that with anyone who decided to come visit my room so that they would know where my true home is. I just happened to see this and others on etsy, and wanted to attempt to make it instead of paying $30-$40 and waiting for it to show up at my house. So, here goes this fun tutorial on state string art!


First, you need a board. Really, you can purchase whatever size you want, but I went with a 9''x12'' board from JoAnn's, for $8. You could have your wonderful and handy father cut you a piece if you're like my friend Carly over at Ruffles & Such, but unfortunately, my dad lives right where the heart is going to go in this project, so it was off to the craft store for me!


I headed on over to Ace Hardware to pick up these little wire nails. You want nails with larger flat tops, so your string will be nice and easy to wind around. These were about $3, and I was able to make two of these projects with one box. 


I also bought thick string at JoAnn's, which I didn't use for this particular board, but I did for two other ones and it worked great. For this one, I used sewing thread. I was afraid it would be really thick around the heart if I used the other thread, but it didn't matter either way, they both worked great! You just need to gather those materials, along with whatever colors you want to paint your board.


I chose to paint mine grey, because I'm planning on grey being a main color of my room eventually. I started with a black coat.


While that was drying, I had printed out an outline of Oregon found here at The Vintage Lemon (every state can be found here, so useful!) and just drew a heart over where Eugene is. This tiny heart was a little too tiny, so don't be afraid to make it big. You definitely need enough nails in the heart for a lot of string to be around them. 


After my black coat was dry, I used a dry brush to paint on the grey. As you can see, I didn't paint every part because I just really like this... look. Whatever it is! I used a paper towel to dry off some parts too.


After that dried, which didn't take long, I set the Oregon print in the middle of the board. I've heard you can cut out the state, tape it down with painter's tape, and nail along the edges, but I did it a bit differently. I used a thicker ball-point pen and traced around the state, pressing hard, but keeping the paper in place. 


See the nice indent in the wood it creates? It worked wonderfully.


Now comes the loud part. If you live in a basement with two roommates, and have a mother and 11-year-old daughter who live upstairs, don't do this late at night. Unfortunately, that's when everything dried for me, so I had to wait a whole day to finish this project! Don't you hate it when that happens? Anyway, I didn't do any measuring or anything, so I just made sure to space them far enough apart so I could easily wrap the strings around them. In this photo, I didn't pound the nails in far enough, so you'll want to do it until they're about halfway into the wood. If they're not, like mine are here, when you tightly wrap the string it'll bend the nails. 


Don't forget the heart! I think it looks pretty just like this, but let's add the string.


This lighting is way better; it shows the actual color of the board. I don't have a photo of the stringing process, but it's pretty simple. I started at one corner, tied a tight knot on one nail, and started stringing it to the heart. Go back and forth hitting every outlining nail, and switching heart nails... whenever you decide to. I didn't do any special math or anything to decide which outlining nails should be paired with which heart nails, so I just winged that part. 


And you're done! You can just sit it somewhere, or you could put picture hanging hooks on the back to hang on the wall. So sit it next to your glassybaby and enjoy the accomplished feeling in your heart, because you just made something beautiful.


Eventually, I'll post a few more pictures of some of my other string art projects, but some time has to pass before you get to see them! ;)